
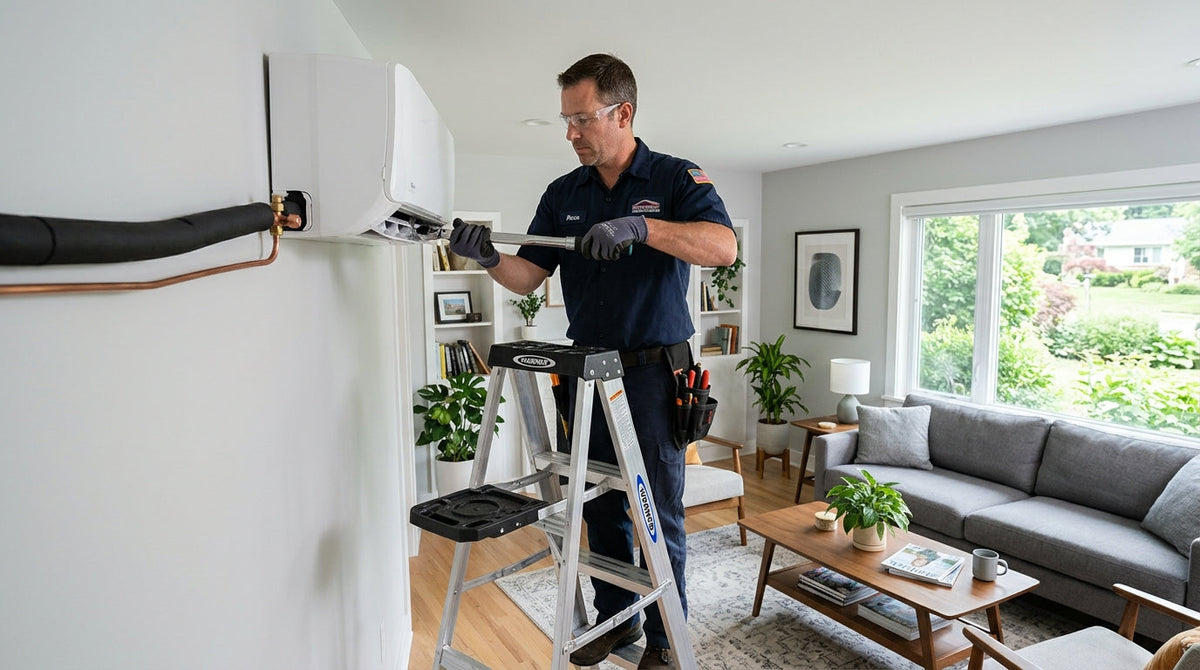
Ductless mini splits are simple to install compared with ducted systems, which is exactly why their weak point gets overlooked. The flare connections at the indoor and outdoor units are where many mini split leaks begin, and on a system with a small charge, a leak shows up fast.
Cut it square
Use a sharp tubing cutter, not a saw, and advance it slowly so the tube stays round. A hacksaw leaves a ragged, angled end and fills the tube with chips.
Deburr, carefully
Remove the burr from the inside edge with the tube pointed down, so the filings fall out instead of into the line. A burr left on the face of the flare is a leak path. Filings left inside the line end up in the expansion valve or the compressor.
Nut on first, then flare
It sounds obvious, and everyone has forgotten it once. Slide the flare nut onto the tube before you make the flare. Use a good flaring tool and set the tube depth with the tool's gauge. A good flare is smooth, even and fully formed all the way round, and sized to sit fully on the fitting's seat.
Seat it and torque it
Line the flare up square with the fitting and start the nut by hand so it does not cross-thread. Then tighten it with a torque wrench to the manufacturer's specification for that tube size. Under-tightened flares leak. Over-tightened flares crack or thin out and leak later, often after a season of heating and cooling. Follow the manufacturer's instructions on whether to put refrigerant oil on the back of the flare, and never put thread sealant on the flare face.
Prove it before you open the valves
- Pressure test the line set and indoor coil with dry nitrogen to the manufacturer's test pressure, and check every flare with bubble solution.
- Evacuate with a micron gauge at the system and run a decay test.
- Only then open the service valves to release the factory charge. Add charge by weight for any line length beyond the pre-charged length, as the installation manual specifies.
A flare takes two minutes to make well and two hours to chase when it is made badly.
Test yourself with the Inverter Mini Split Quiz.